
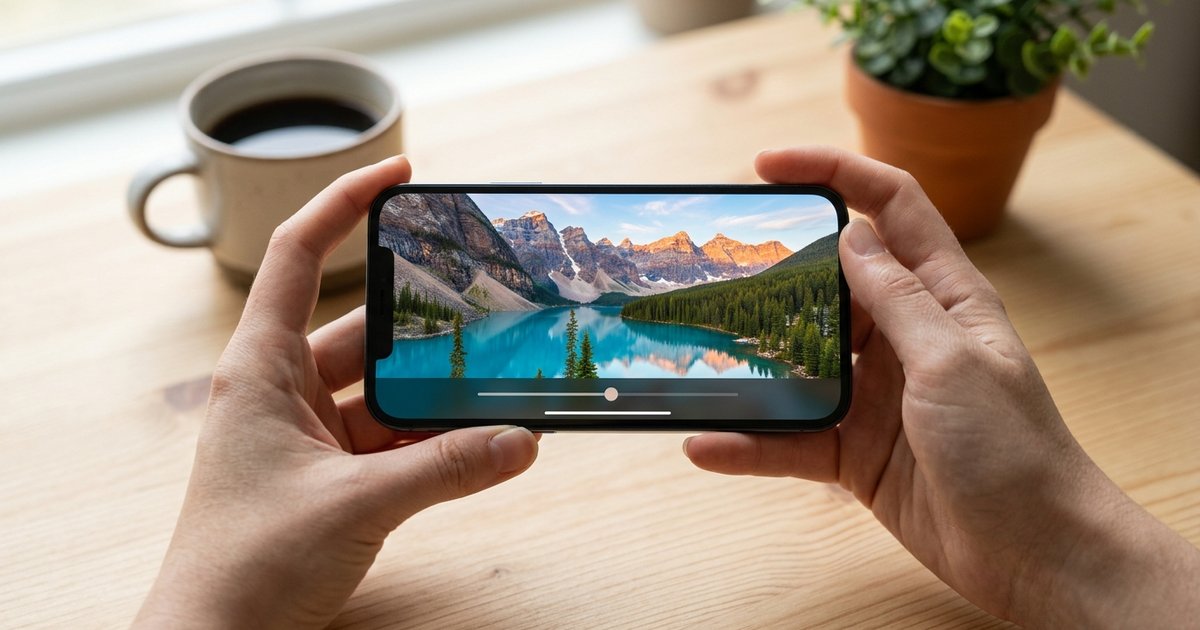
To edit photos on iPhone, open the Photos app, tap a photo, then tap the Edit button. From there you can use Adjust to fix light and color, Crop to straighten or reframe, Styles or Filters to change the look, and Clean Up to remove distractions on supported models. Tap Done to save. Edits in Photos are not permanent: you can revert to the original at any time. The steps below follow Apple's iPhone User Guide for iOS 27, the current version at the time of writing.
Quick steps: edit a photo on iPhone
- Open the Photos app.
- Tap a photo to open it, then tap the Edit button.
- Choose a tool at the bottom of the screen, such as Adjust, Filters, Styles, Crop or Portrait.
- Tap or drag the controls to make your changes. Tap the photo to compare it with the original.
- Tap Done to save, or tap Cancel and then Discard Changes to throw the edits away.
If you use iCloud Photos, edits you make on your iPhone are saved across all your devices.
Adjust light and color
Adjust is where most edits start. It controls brightness, contrast, color and similar settings.
- Open a photo and tap the Edit button.
- Tap Adjust.
- Swipe left under the photo to see the available settings, such as Exposure, Brilliance and Highlights.
- Tap a setting, then drag the slider to fine-tune it.
- Tap Done.
The outline around each setting's button shows how much you have changed it. Tap a setting's button to flip between the edited and original version for that adjustment. If you want a fast fix, tap the Enhance button, which automatically improves light and color, then refine from there.
Crop, straighten, rotate and flip
Crop and change the aspect ratio
- Open a photo, tap the Edit button, then tap the Crop button.
- Drag the corners of the rectangle to frame the part you want to keep, or pinch to zoom.
- To use a preset shape, tap the Aspect Ratio button and choose an option such as Square, Wallpaper, 9:16 or 5:7.
- Tap Done.
When you drag a corner, the crop keeps the photo's original proportions. To crop freely, tap the lock at the top-right corner of the photo to unlock the aspect ratio.
There is also a shortcut: while viewing a photo, pinch to zoom in until it looks the way you want, then tap Crop in the top-right corner. You can fine-tune the result with the regular crop tools before tapping Done.
Straighten or fix tilted lines
- In Edit, tap the Crop button.
- Tap one of the buttons below the frame to straighten, tilt vertically or tilt horizontally.
- Drag the slider until horizons and buildings look level.
- Tap Done, or tap Reset to go back to the original.
Vertical and horizontal tilt are useful for photos of buildings, where walls can appear to lean inward when you point the camera upward.
Rotate or mirror
In the Crop tool, tap the Rotate button to turn the image 90 degrees, or the Flip button to mirror it horizontally.
Change the look with Photographic Styles or filters
Photographic Styles
On supported models, you can change the Photographic Style of a photo after you take it. Apple notes that this requires the photo to be captured with High Efficiency image capture. To turn that on, go to Settings > Camera > Formats and tap High Efficiency.
- Open a photo taken with a Photographic Style and tap the Edit button.
- Tap Styles.
- Swipe left or right on the style choices to try a different style.
- To fine-tune it, tap Customize, then drag your finger on the style pad to change tone and color, and use the slider below to set the intensity.
- Tap the Done button.
On models that support it, a Texture option adds looks such as Soft Skin, Glow or Film, plus optional film grain. You can reset the tone, color and intensity values with the Reset button.
Filters
Filters change the overall tint of a photo or video.
- Open the photo, tap the Edit button, then tap the Filters button.
- Tap a filter, such as Vivid or Dramatic, and drag the slider to adjust its strength.
- To remove a filter that was applied when you took the photo, tap Original.
- Tap Done.
On iPhone 16 models or later, Apple recommends Photographic Styles instead of filters for a customized look. Filter effects remain available on these models if you haven’t turned on Photographic Styles.
Remove distractions with Clean Up, Extend and Reframe
With Apple Intelligence, the Photos app adds three extra tools. According to Apple, on iOS 27 these require an Apple Intelligence-enabled iPhone 15 Pro, iPhone 15 Pro Max or iPhone 16 model or later, and they are not available in every language or region. Usage limits may apply.
Clean Up
- Open a photo and tap the Edit button.
- Tap Tools, then tap Clean Up.
- Tap, brush or circle the object you want to remove. Some items may be highlighted automatically so you can tap them.
- Use two fingers to zoom or pan for precise work, and tap the Undo button to bring something back.
- Tap the Done button.
You can choose the processing type Photos uses for Clean Up—Auto, Fast or High Quality—by tapping Auto during the Clean Up process. If you use High Quality processing, tap Clean Up to apply it.
Extend and Reframe
- Extend expands the edges of the frame. Tap Tools, then Extend, pinch or drag to extend the background, and tap Extend.
- Reframe changes the point of capture after the fact. Tap Tools, then Reframe, drag to adjust the perspective or use two fingers to pan, zoom and rotate, then tap Reframe.
To undo any of these after saving, open the same tool again and tap Reset. Full details are in Apple's guide to Clean Up, Extend and Reframe.
Edit Portrait mode photos
For photos taken in Portrait mode, the Photos app lets you change the background blur, lighting effect and focus point after the fact.
- Background blur: open a Portrait photo, tap the Edit button and drag the Depth Control slider. A black dot marks the original value.
- Focus point: in Edit, tap a different subject to make it sharp. The blur adjusts automatically. This works on iPhone 13 and later.
- Portrait Lighting: tap the lighting button at the top, then slide through Natural Light, Studio Light, Contour Light, Stage Light, Stage Light Mono and High-Key Light Mono. Use the slider to set the intensity.
- Remove the effect: tap Portrait in the top-left corner while viewing the photo, then tap Portrait Off.
On supported models, photos of a person, dog or cat taken in regular Photo mode can also become portraits. In Edit, select Portrait at the bottom of the screen if it appears, then tap Portrait at the top to turn the effect on.
Edit Live Photos
A Live Photo is a short moment of motion and sound. In Edit, tap the Live Photo button, then:
- Change the key photo: move the white frame on the frame viewer, tap Make Key Photo, then tap Done.
- Trim it: drag either end of the frame viewer.
- Make it a still: tap Live at the top to turn the feature off.
- Mute it: tap the Mute button at the top.
To add an effect, open the Live Photo (not in Edit), tap Live in the top-left corner, and choose Loop, Bounce or Long Exposure. Long Exposure blurs motion, which works well for waterfalls and moving lights. To share a Live Photo with someone who does not use Apple devices, tap the More button and choose Save as Video. Note that on iPhone 15 models and later, a Live Photo with a portrait effect loses that effect if you change the key photo.
Add text, stickers and shapes with Markup
- Open a photo and tap the Edit button, then tap the Markup button.
- Tap the Add Annotations button to insert stickers, captions, text, shapes or your signature.
- Tap the Done button.
Copy and paste edits to several photos
If you shot a series in the same light, edit one photo and apply the same changes to the rest.
- Open the edited photo, tap the More button, then tap Copy Edits.
- Turn off any edits you do not want to copy, then tap Copy.
- Go back to your library, tap Select, and choose the photos you want to change.
- Tap the More button, then tap Paste Edits.
Photos also adjusts white balance and exposure on the pasted photos so the batch looks more consistent.
Quick video edits in the same editor
The Edit button works on videos too. Drag either end of the frame viewer to trim a clip, then choose Save Video or Save Video as New Clip (a new clip cannot be reverted). When you record video with iPhone 16 or later, you can choose Spatial Audio, Studio or Mono in Settings > Camera > Record Sound. Videos recorded with Spatial Audio can use Audio Mix in Photos, with Standard, In-Frame, Studio and Cinematic options for adjusting voices and background sound.
Undo, redo and revert to the original
- While editing: tap the Undo and Redo buttons at the top of the screen to step backward or forward through multiple changes.
- Compare: tap the photo to see the original.
- After saving: open the photo, tap the More button, then tap Revert to Original.
Apple's page on undoing and reverting photo edits covers this in more detail.
Which tool should you use?
| Problem | Tool to try |
|---|---|
| Too dark, too bright or flat | Enhance, then Adjust (Exposure, Brilliance, Highlights) |
| Crooked horizon or leaning buildings | Crop, then straighten or tilt |
| Wrong shape for social media or wallpaper | Crop, then Aspect Ratio |
| Stranger or object in the background | Tools, then Clean Up |
| Subject too close to the edge | Tools, then Extend or Reframe |
| Background not blurred enough | Portrait Depth Control |
| Want a consistent look across photos | Styles or Filters, then Copy Edits and Paste Edits |
Tips for better iPhone photo edits
- Fix the frame first. Straighten and crop before adjusting light and color, since cropping changes what the rest of the edit is working with.
- Start small. Small slider moves usually look more natural than large ones. Tap the photo often to compare against the original.
- Check highlights and skies. If bright areas look washed out, lower Highlights before raising overall exposure.
- Pick one look per set. Edit a single photo carefully, then copy and paste the edits to the rest of the series.
- Change the editing background if it helps. In Edit, tap the More button, tap Appearance, then choose System, Dark or Light.
- Do not worry about mistakes. Revert to Original restores the photo exactly as you took it.
For the full list of options, see Apple's guide to editing photos and videos on iPhone. Menu names can change between iOS versions, so if a button looks different on your phone, check that your iPhone is up to date.
